

在庫管理もシンプルです!
先程の商品管理シートに保存している、
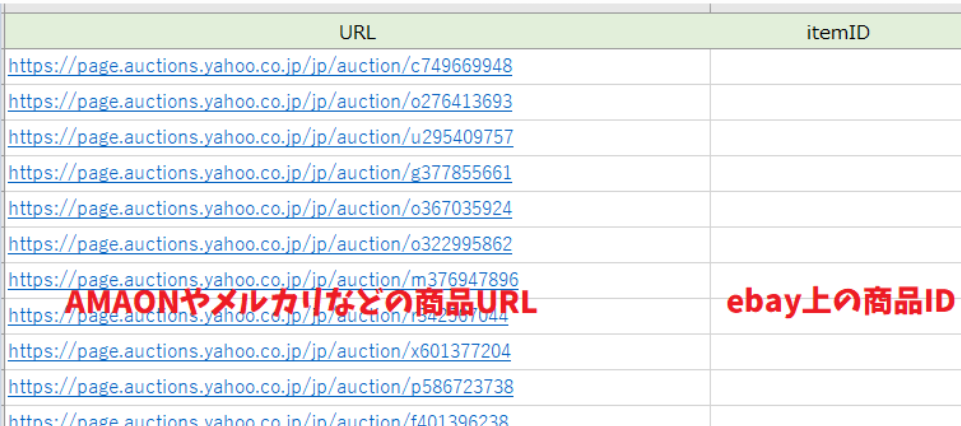
- 国内サイト(メルカリなど)のURL
- ebayのitem ID
このの2つをもとに、在庫の有無をチェックして、取り下げまでツールがやってくれますので必要なのはこの2つだけです!
商品管理シートへそれぞれ入力して保存しましょう。
在庫管理の方法の流れ
在庫管理の流れとなります。

- STEP1 【在庫チェックの開始】:商品管理シートにURL(例:メルカリの商品URL)とitemID(ebay)が記入されていればそれをツールが巡回します。
- STEP2 【ebayにログイン】:ebayにログインします。
- STEP3 【ebayにアップロード】:ebayから在庫切れ商品を取り下げます。
- STEP4 【削除】:商品管理シートから売り切れ商品のリストを削除したい場合は削除ボタンを押しましょう。
STEP1~STEP4まで順番にボタンを押せば在庫管理ができます。

たったこれだけなんですね?

はい、非常にシンプルで、対象サイトの商品URLと、ebayで振り分けられるItemIDの2つさえあれば、何でも管理ができます!
売り切れ商品には『◎』がつきます。
STEP1の在庫チェックボタンを押すと、『商品管理シート』の在庫チェックが始まります。
チェック終了後、商品管理シートを見ると、国内で売り切れた商品は売り切れの列に『〇』がついてます⇊

この際にまだ取り下げたくない商品があれば自分の手で『〇』を消しましょう!
その後STEP3で〇がついている商品のみ取り下げられます。

itemIDが入力されていて、〇がついている商品だけ取り下げされます。
逆に言うとitem IDがない、〇がついていない商品は取り下げがされません。
在庫管理はこれだけです!
自分の好きなタイミングでSTEP1ーSTEP4ボタンを押して管理をしていきましょう!
新規出品した際は商品管理シートの下の方にその商品がどんどん追加されていきます。
そのあとにebayにアップ後にitemIDを入力してそれを保存して、在庫管理を繰り返していきましょう。
ItemIDを確認できる箇所ってどこ?
在庫管理に必要なItemIDは、2通りの確認方法があります!
①ファイルエクスチェンジで出品した場合
ファイルエクスチェンジをアップした場合は、ebayのダウンロード結果のitemID列で確認できます。

②ebayでアップした商品ページを開いて確認


ということは、ツールで出品してなくても、今まで手出品した商品のURLとitemIDがあれば管理ができるんですか?
はい、【AMAZON・メルカリ・ヤフオク・ラクマ】のどれかでしたら、手出品で今まで出してきた商品も管理ができます!
自動で在庫管理をする方法
PCをずっと起動しておける方は、ツールに自動で在庫チェックさせることもできます!
やり方を解説していきます。
①timesheetを選びましょう

⇊ ⇊ ⇊ ⇊
②シートに巡回させたい時間を入れましょう
※複数可能ですが1日に1-2回でも丁度いいかも

⇊ ⇊ ⇊ ⇊
③2つの内どちらかを選ぶ
ツールで 『在庫切れはシートに〇を入れるだけ(自分で取り下げるものを選ぶ』 か 『在庫切れは自動で取り下げる』 のどちらかを選びましょう。

Boost Listingはずっと立ち上げていた方がいいですか?
はい、在庫管理機能はツールを立ち上げていないと作動しませんので、PCは立ち上げて放置しておきましょう
以上となります。
メインページへ戻りましょう。